

The number one question I get from my brand photography clients is, “What do I wear?” No big surprise there! Everyone wants to look their best in photos. However, recently I’ve been surprised by the top question fellow photographers keep asking me. Many of you want to know, “How do you get your photos so sharp?” So, this week, I’m going to break down my camera settings and post-processing workflow for taking sharp brand photos!
MY 3 PART PROCESS FOR TAKING SHARP BRAND PHOTOS
Part 1 – Camera settings
Taking sharp brand photos starts with using the right equipment! You can learn more about my favorite lens and how I use it here.
For all my branding shoots, I use:
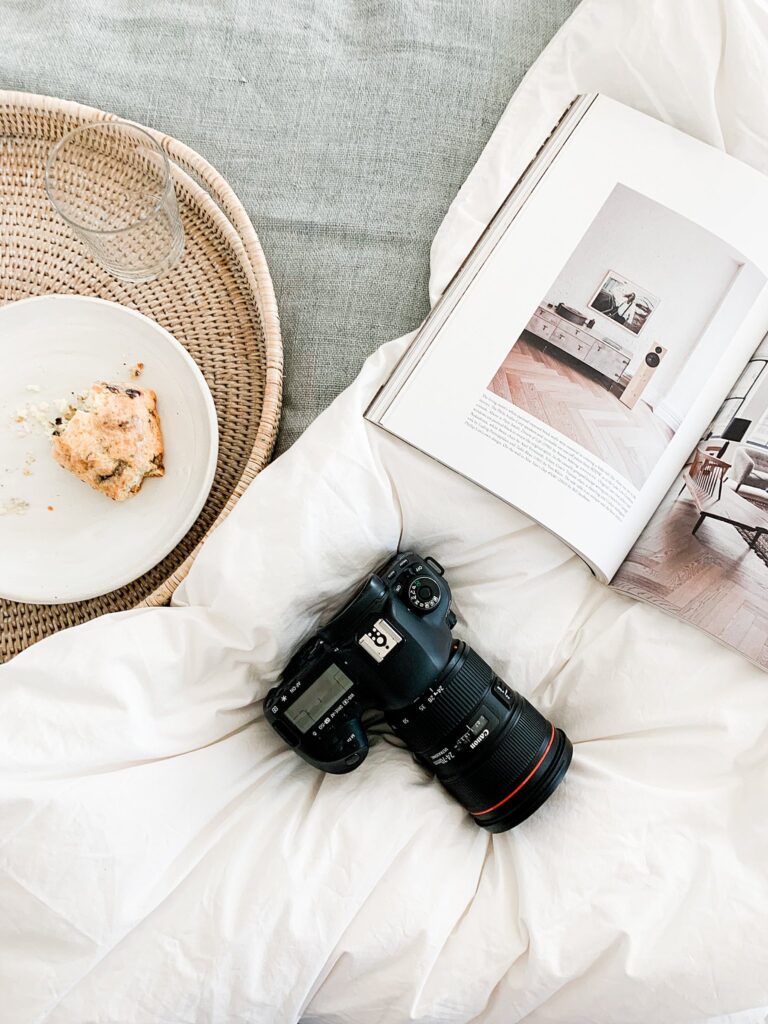
Camera Body – Canon R6
Lens – Canon 24-70mm 2.0 EF
Now, let’s talk settings. If I’m shooting a solo entrepreneur, I typically sit around 2.0 to 2.5 for my aperture. However, the exact setting depends on if I’m shooting an up-close portrait or a more pulled-back shot and want more of the backdrop visible. On average, I keep my shutter speed around 250 to 320 and my iso around 240 to 400. But my iso and shutter speed really depend on the location and lighting. Lastly, I do enable the eye tracking feature on my R6, and then I make adjustments as needed.
Part 2 – Post-processing
Recently, I’ve started using Aftershoot for my culling, and I have to tell you, I am loving it! Previously, I used Photo Mechanic by Camera Bits, and while I loved that as well, Aftershoot literally does all my culling for me! Then, all I have to do is review the culled gallery before I send proofs. Aftershoot also lets me adjust all my settings to tell the AI what I don’t want, like blurred photos, closed eyes, etc. This helps me guarantee that my clients only see the very best images.
Part 3 – Final edits
Upon import, I apply my base preset, and then, once the client has selected their final images, I get to work on the final edits. In Lightroom, I keep my editing simple and minimal. Since I try to shoot as close to perfect as possible in camera, my post-processing workflow goes pretty quickly. All the images my client selects from their proof gallery already have my base preset applied. So, the final edits just involve adjusting white balance, exposure, highlights, and luminance until everything looks perfect.
And that’s it! Those are my secrets for taking sharp brand photos! If you liked this peek into the behind-the-scenes of my business, I’d love to offer you some one-on-one advice with my mentor sessions. Or you can find some valuable resources in my one-stop shop for brand photographers. I hope learning about my shooting and editing process helps you level up your brand photography game!


